Sharpening your kitchen knives sounds a bit intimidating, right? Well, I’m here to debunk that myth.
Sharpening and maintaining your knives is a lot simpler than you think, and mastering the art of it will mean that you don’t have to pay someone to do it for you. Unless you’re trying to fix some serious damage on your knives, you can easily do it yourself.
My top tip is to invest in a whetstone, it makes the process so much easier.
Sharpening your kitchen knives with a whetstone is a straightforward process and will keep your blades in stellar shape for years. Contrary to popular belief, it’s actually a blunt knife that causes the majority of accidents or nasty cuts in the kitchen. A beautifully sharpened knife that cuts with precision only makes cooking more seamless (and enjoyable).
Here’s a simple guide to get you started. What you’ll need:
A whetstone: Dual-sided is best, with one coarse side and one fine side.
Water: For soaking the stone.
A towel: To keep your area tidy.
A steady surface: A table or countertop.
Here are the steps: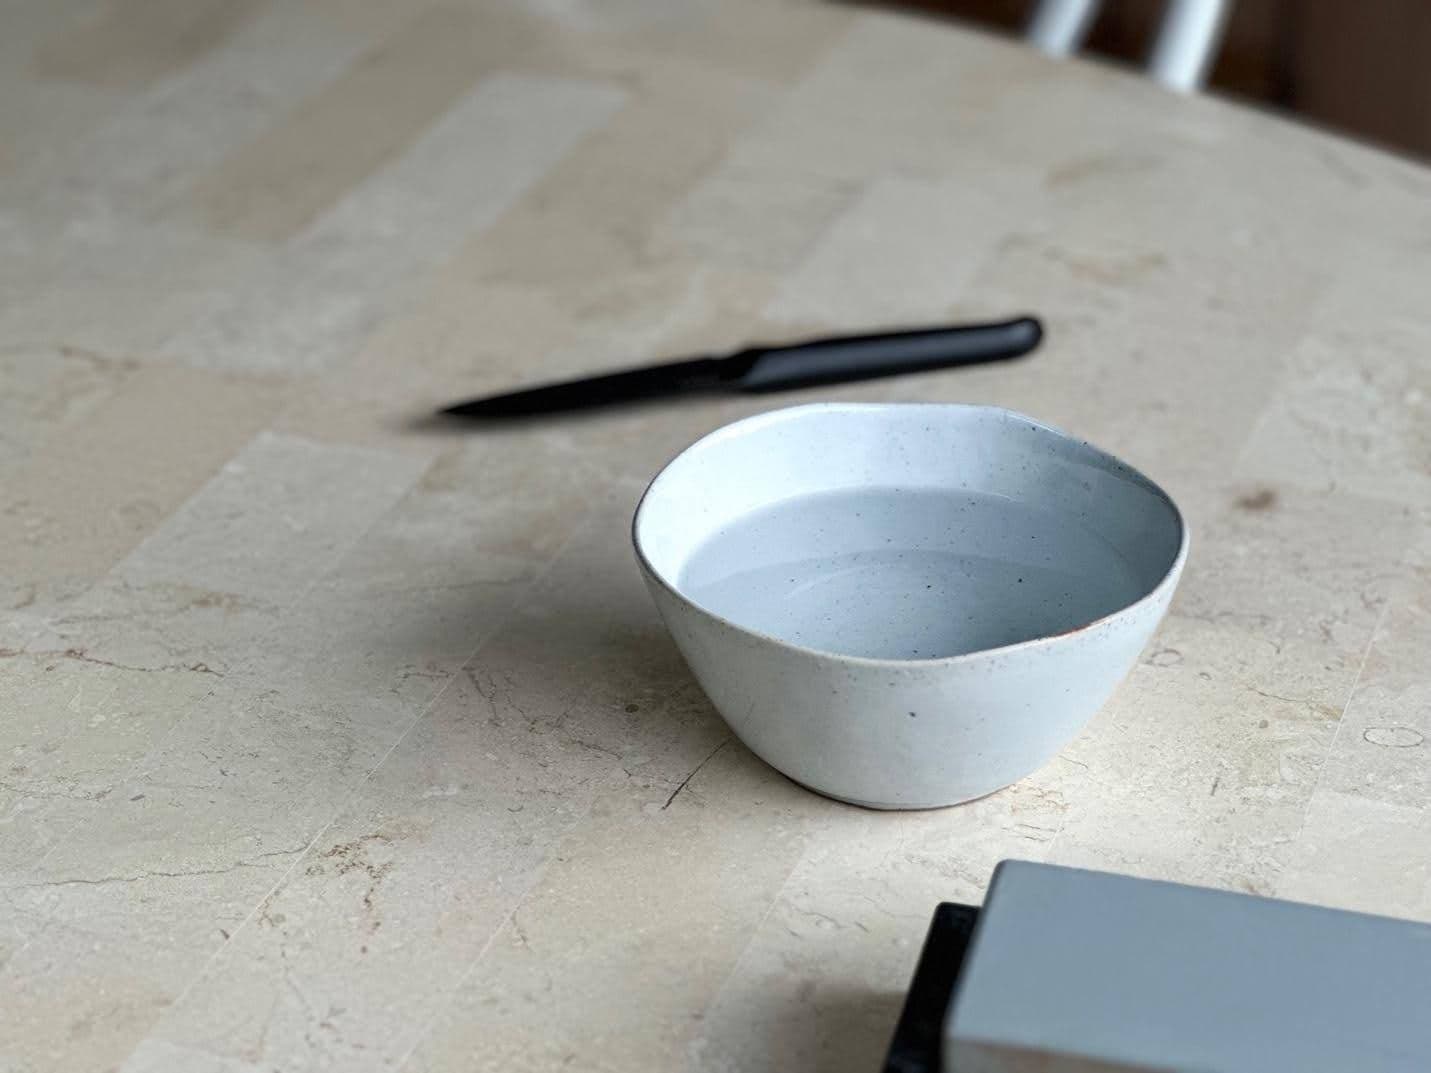
1. Prepare your whetstone
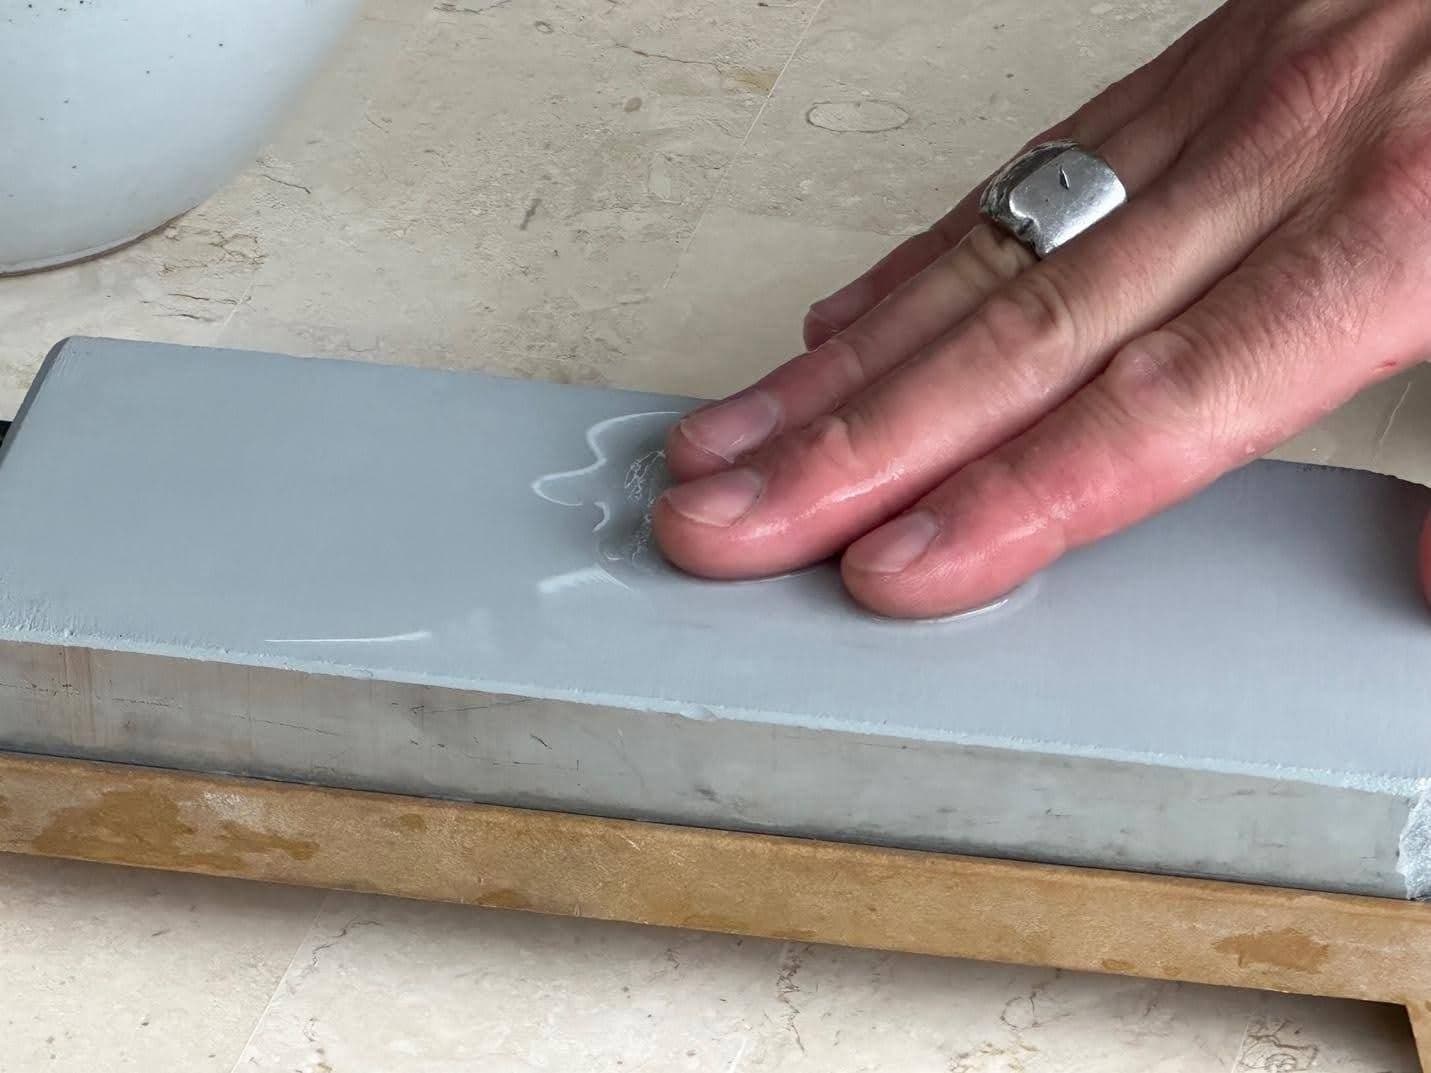
Start by soaking your whetstone in water for about 10-15 minutes. This ensures that it stays lubricated while you sharpen the knife.
2. Set up your area
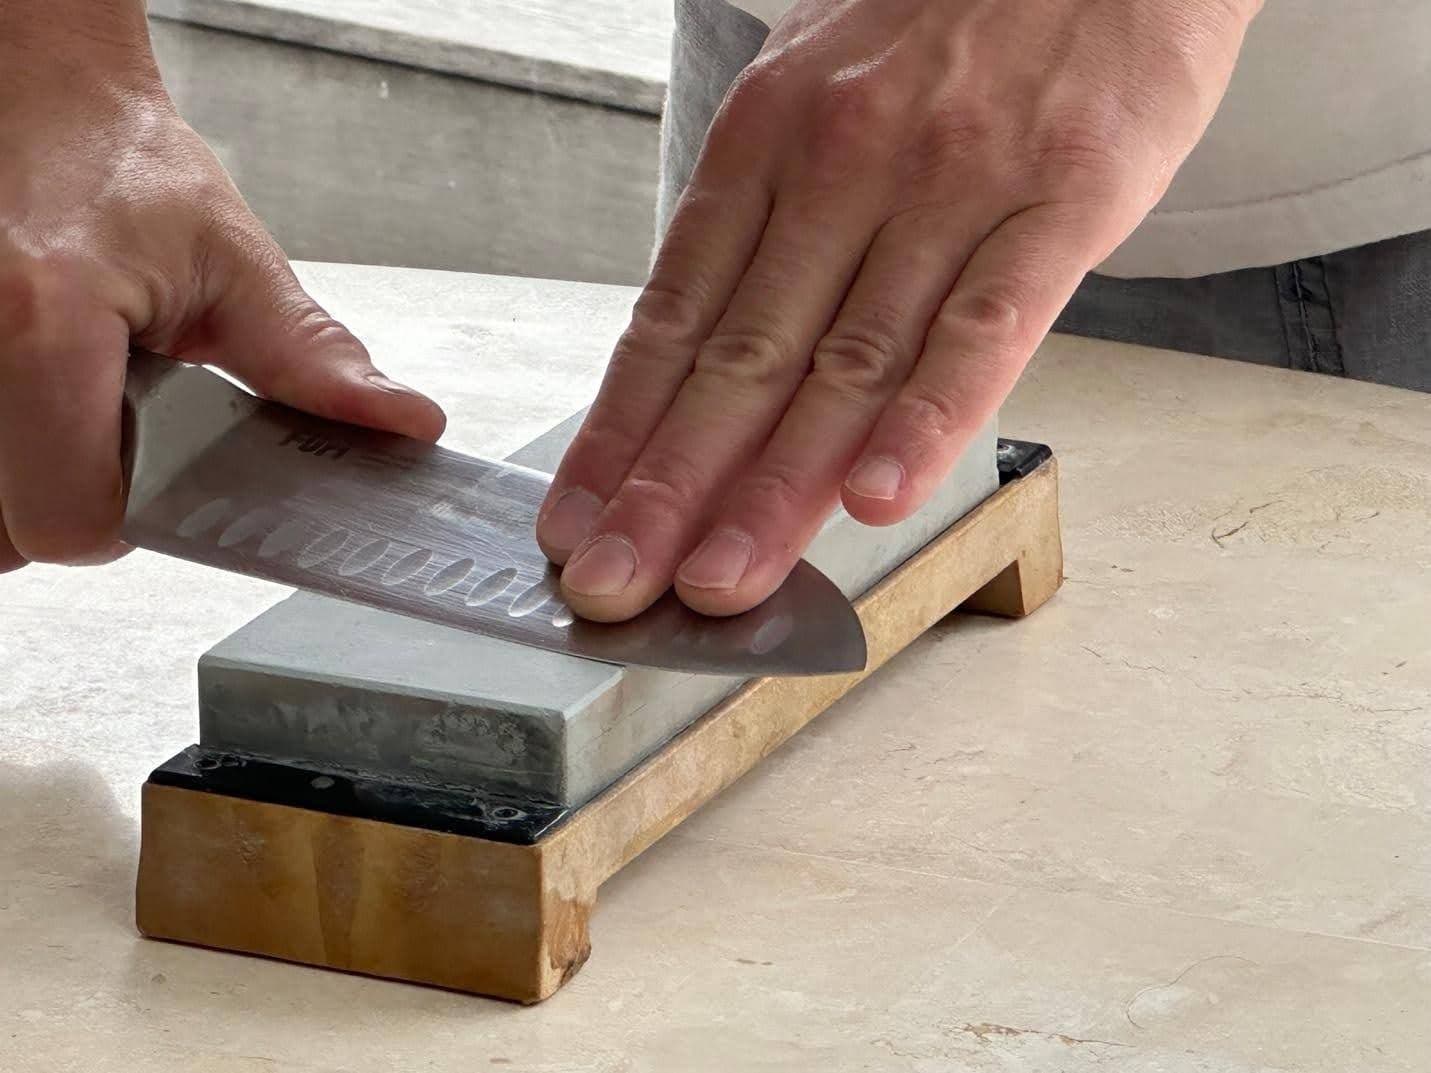
Place the whetstone on a flat, stable surface. If it has a non-slip base, use it to prevent any movement.
3. Find the right angle
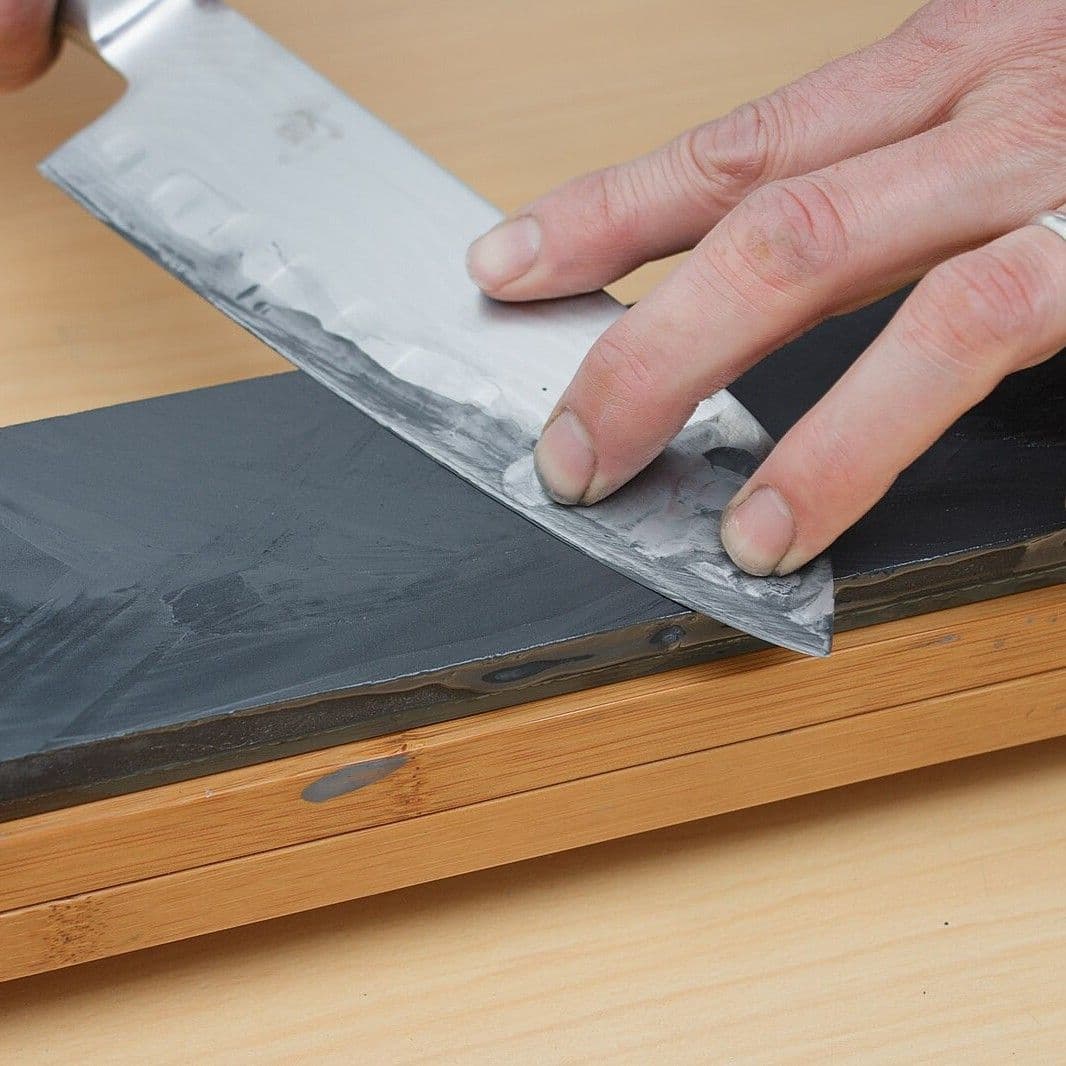
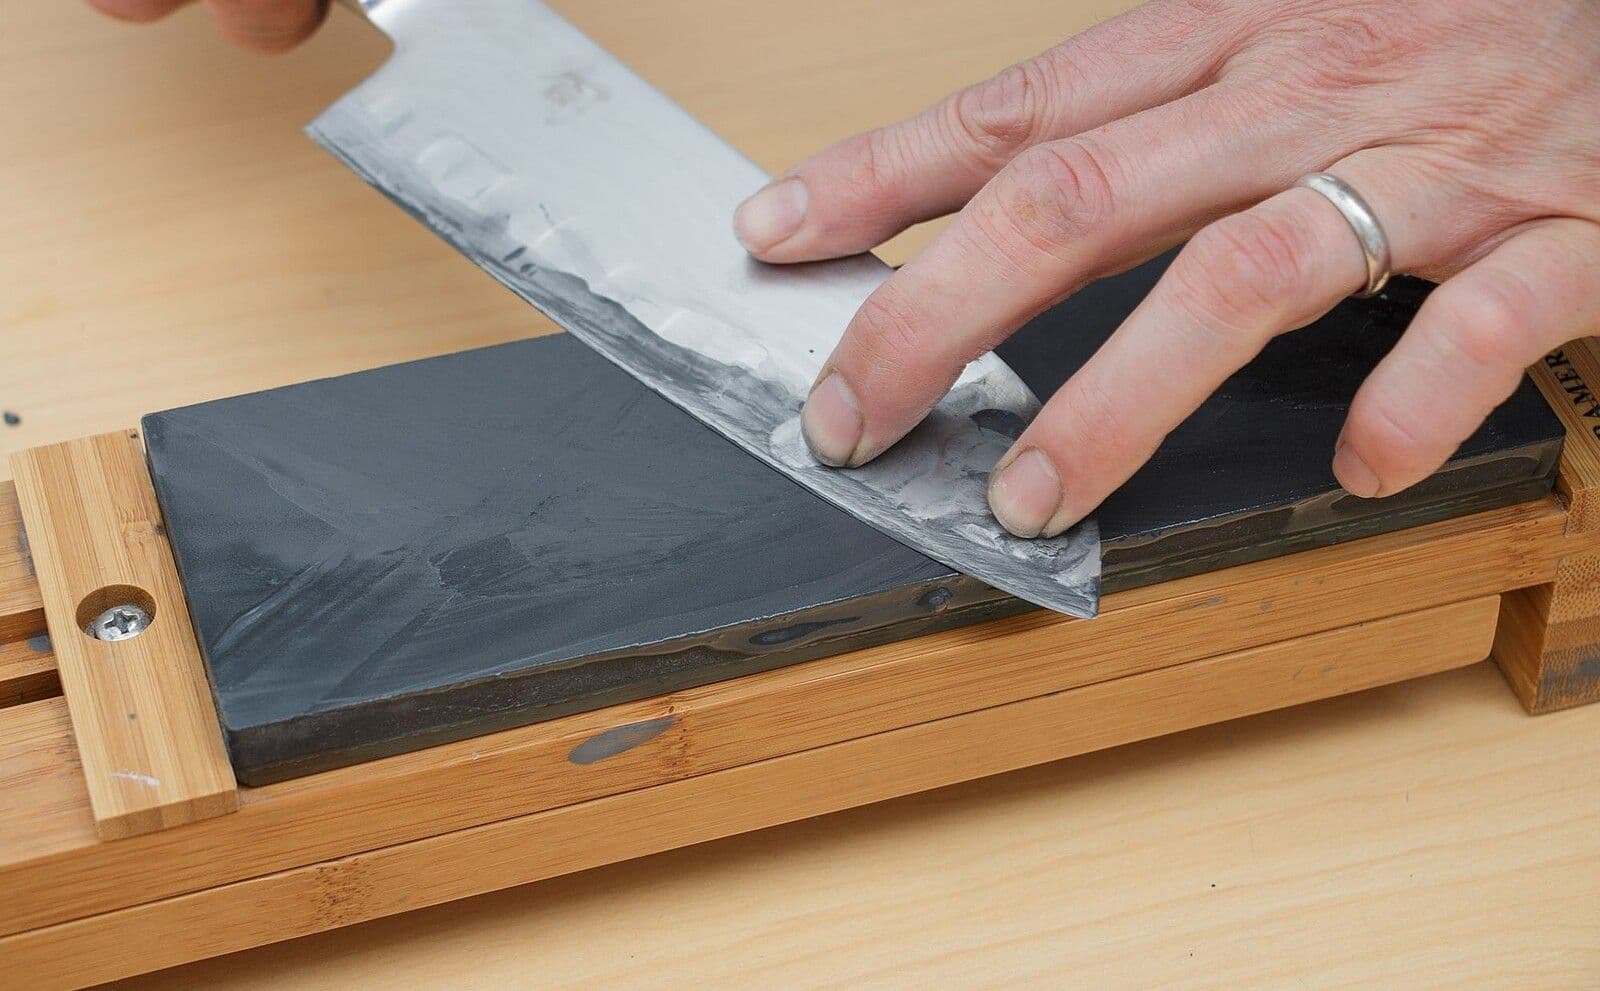
The ideal angle for sharpening is typically around 15-20 degrees. A good trick is to hold the blade at about a quarter height for a rough estimate.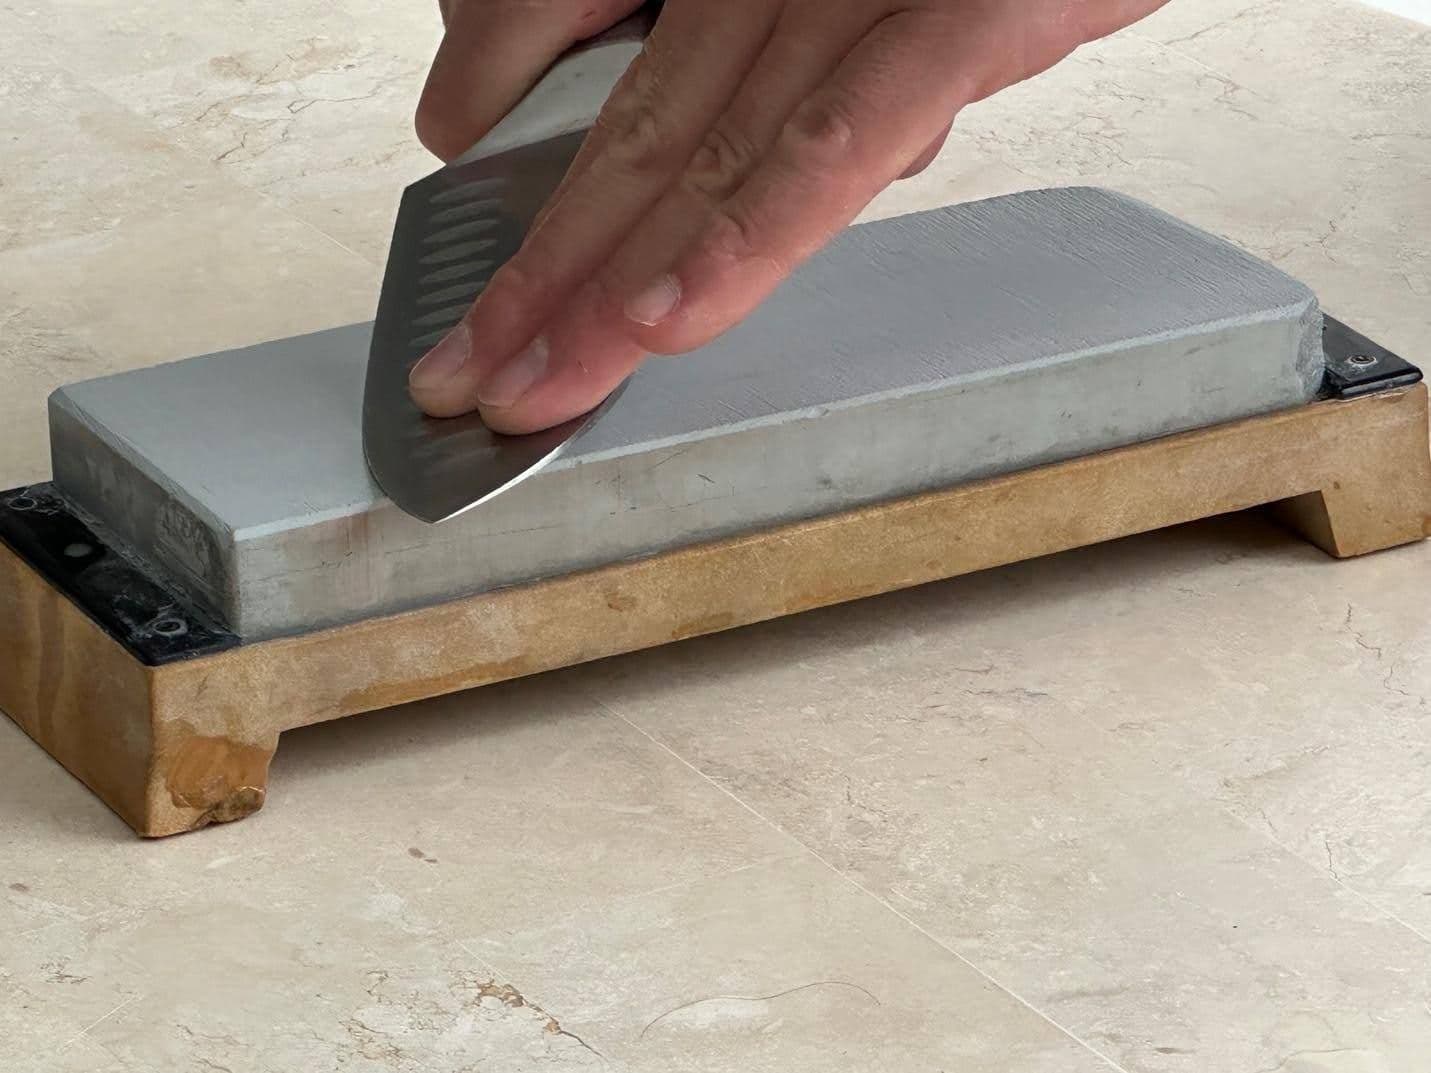
4. Start sharpening
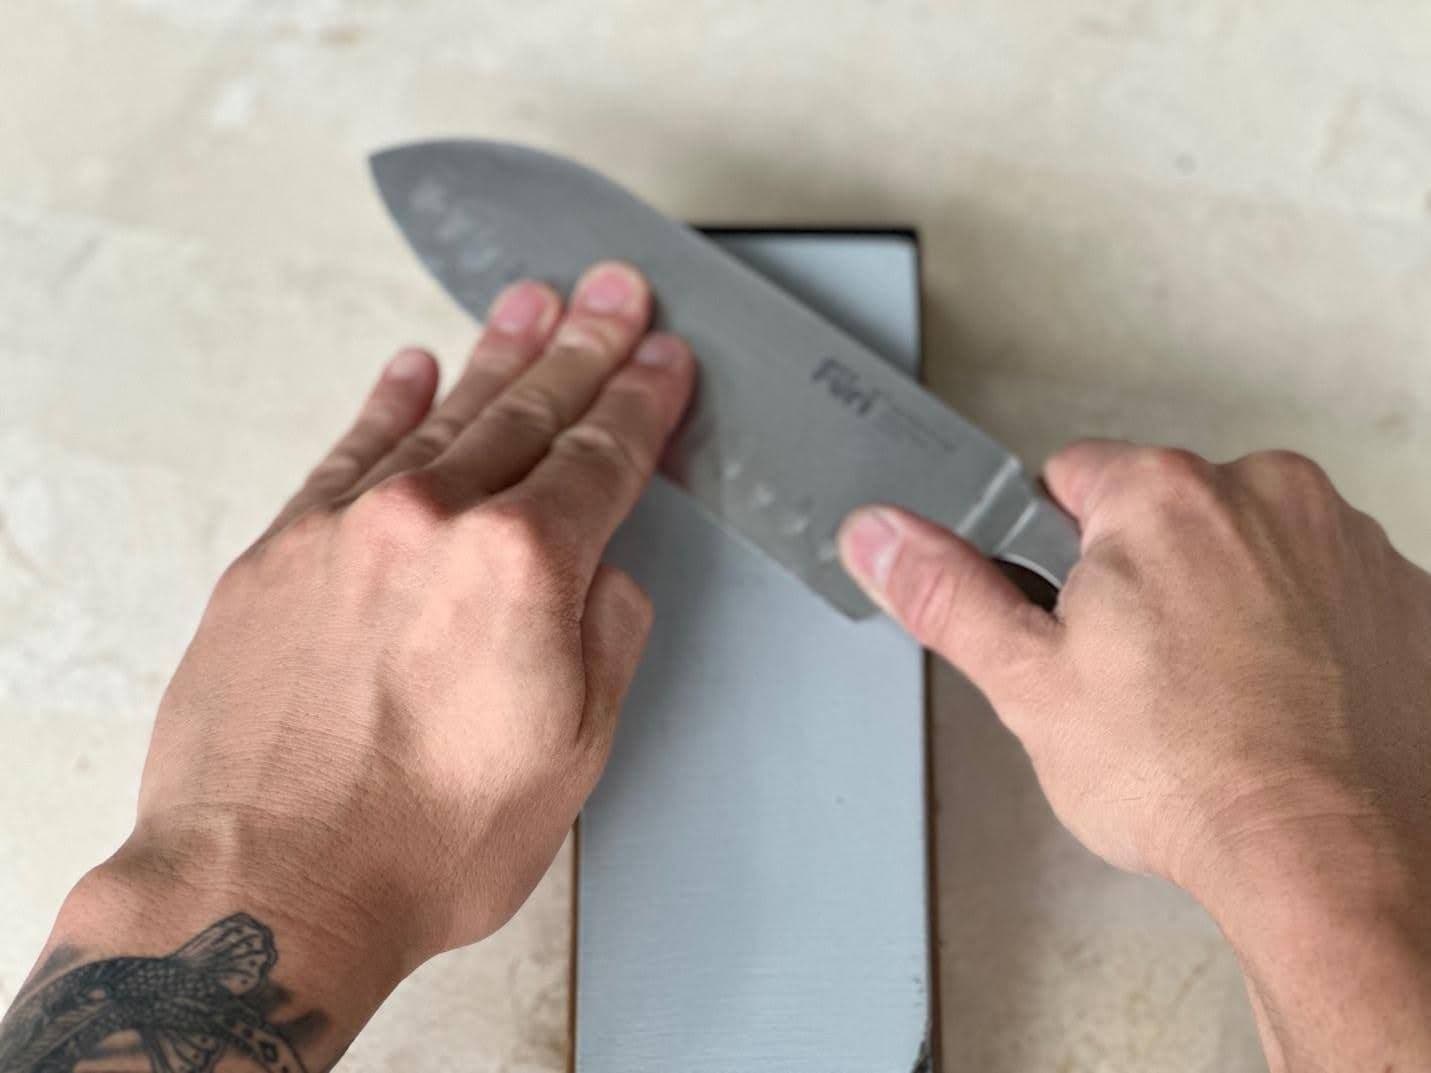
If your knife is very dull, start with the coarse side of the stone. Place the heel of the blade (the part closest to the handle) on the stone. Slide the blade forward while pulling it down and towards you. Apply even pressure, and make sure to cover the entire length of the blade. Start with 5-10 strokes on one side, then switch to the other side and repeat.
5. Switch to the fine side
Once you’ve achieved a sharp edge with the coarse side, flip the stone to the fine side and repeat the process. This will refine the edge and give it that smooth finish.
6. Check the sharpness
To check if your knife is sharp enough, try slicing through a piece of paper or a tomato. If it glides through easily, you have a beautifully sharp knife.
7. Clean the knife
After sharpening, wipe down your knife to remove any metal shavings or residue. Give it a rinse under water and dry it thoroughly.
8. Store your knives
Keep your knives in a safe place, like a wooden block or magnetic strip, to protect the edges.
Sergio’s pro tips:
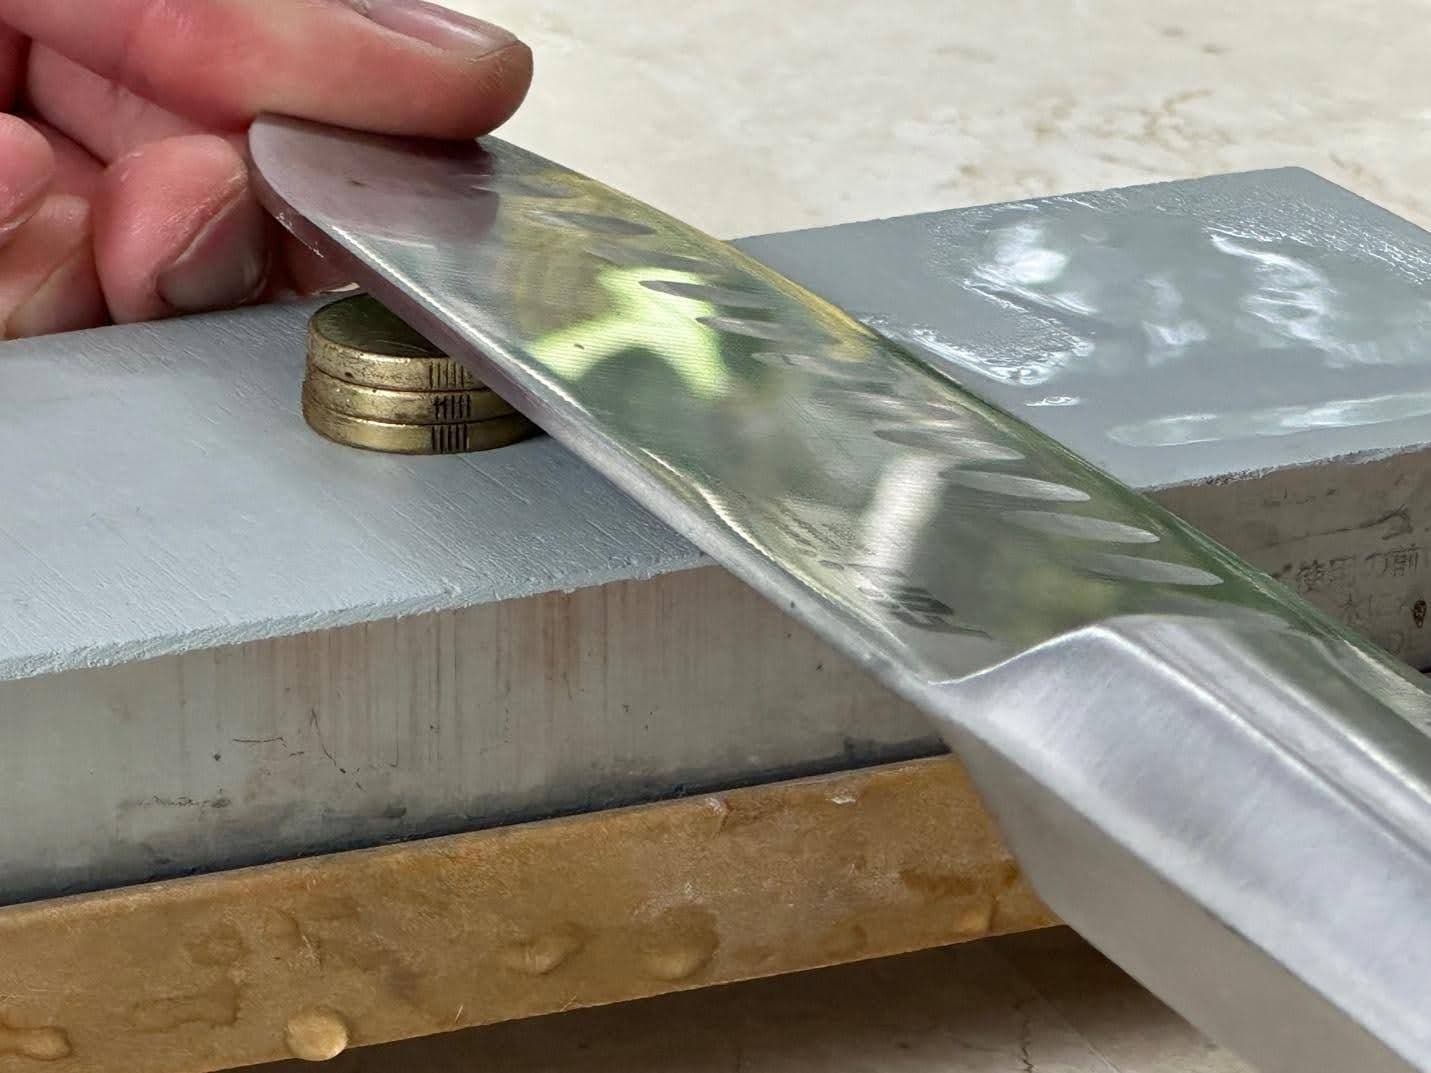
Use some coins to help you figure out the height distance of your knife placement on the stone. It should be at least 2.5 cm lifted from the backend of the blade while the edge of the blade stays seated on the wet stone.
Regular maintenance: Try to sharpen your knives every few weeks to maintain their edge.
Watch tutorials: If you’re a visual learner, check out video tutorials for more guidance.
Practice makes perfect: The more you try your hand at sharpening, the more comfortable you’ll become with the process. Sharpening your knives at home can be a satisfying skill to master.